I’ll never forget the day I peeled off a cheap screen protector from my mirrorless camera and saw tiny scratches underneath. My heart sank. I’d bought the protector to prevent damage, not cause it.
After six years working as a product photographer and testing dozens of camera accessories, I’ve learned the truth about camera protectors—and it’s more nuanced than you might think.
In this article, I’ll share what I’ve discovered through professional use and real-world testing about camera protectors and potential damage. My goal is to help you protect your gear intelligently without inadvertently causing harm.
By understanding which protectors work and which create problems, you’ll make informed decisions that truly safeguard your investment.
Let’s explore the world of camera protectors, examine the risks and benefits, and answer whether these accessories help or hurt your camera.
Does Camera Protector Damage Camera?
The honest answer from my experience: quality camera protectors do not damage cameras when properly applied and removed. However, cheap or poorly-designed protectors absolutely can cause damage—sometimes significant damage that costs more to repair than the protector cost to buy.
I’ve personally seen several types of damage caused by subpar protectors. Cheap screen protectors with aggressive adhesives can leave residue that’s difficult to remove or, worse, pull off anti-reflective coatings when removed. I experienced this firsthand with a budget protector that seemed fine until removal six months later revealed a cloudy residue on my LCD.
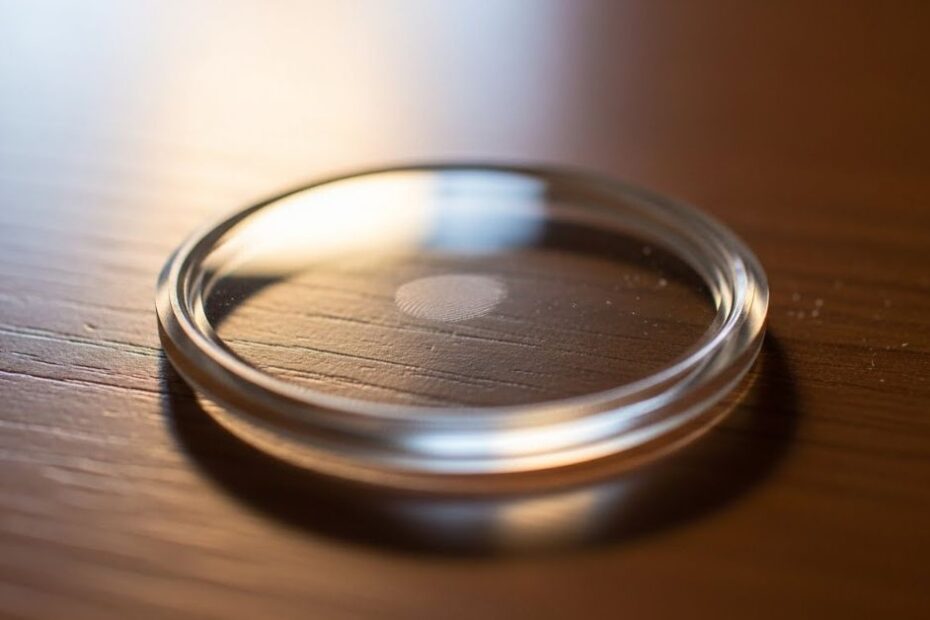
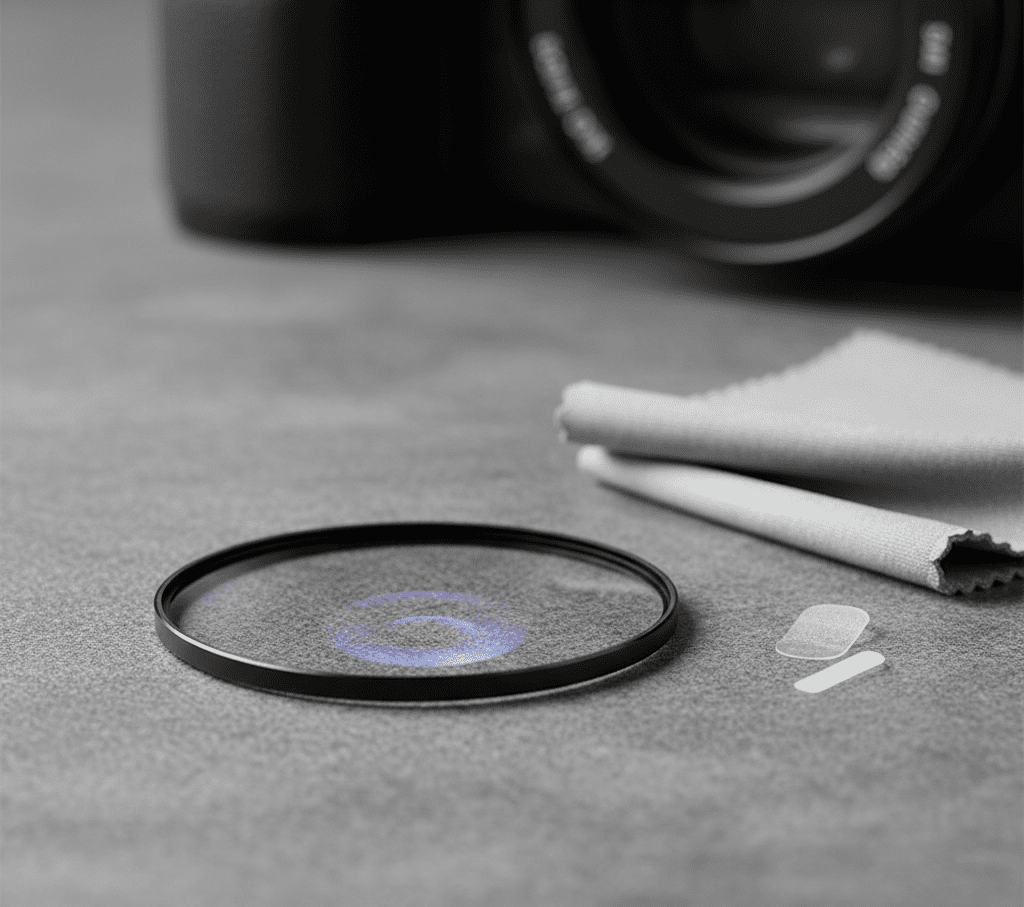
Low-quality lens protectors can affect image quality through poor optical glass, introduce vignetting with thick frames, or create flare problems that ruin shots. I once used an inexpensive UV filter as a “protective” lens cover and noticed reduced contrast and strange ghosting in backlit situations. The filter was doing more harm than the protection was worth.
Body skins present their own risks. Poorly-designed skins can trap moisture underneath, leading to corrosion over time—especially problematic in humid environments. I’ve also seen adhesive residue from cheap skins that required careful solvent cleaning to remove, risking damage to rubber grips and paint finishes.
The key distinction is quality and proper application. Premium protectors from reputable photography brands use camera-safe adhesives, proper materials, and thoughtful designs that protect without causing secondary issues.
These products undergo testing to ensure they don’t interfere with camera operation or leave damaging residue.
My current camera has a quality tempered glass screen protector that’s been on for two years without issues, and I use premium UV filters on my lenses specifically chosen for optical quality and safe removal.
Best Practices for Safe Camera Protection
After years of testing and professional use, these practices have kept my cameras protected without causing damage.
Choose Reputable Brands
I only buy camera protectors from established photography brands or companies specializing in camera accessories. Yes, they cost more, but they use proper materials and safe adhesives. The few extra dollars are worth avoiding potential repair costs.
Read Reviews from Professionals
Before buying any protector, I research reviews from professional photographers and reputable photography websites. User experiences reveal real-world performance that manufacturer descriptions don’t always capture.
Apply in Clean Conditions
I apply screen protectors in my cleanest room after letting the camera acclimate to room temperature. I wash my hands, use the included cleaning supplies thoroughly, and work slowly. This attention to detail prevents trapped dust and ensures proper adhesion.
Consider Alternatives
Sometimes the best protection isn’t a protector at all. For lens protection, I use quality UV filters from optical companies rather than cheap plastic caps. For body protection, a good camera bag and careful handling often suffice. I evaluate whether a protector truly adds value before applying anything to my camera.
Regular Inspection
I inspect my protectors monthly for signs of lifting, trapped moisture, or degradation. Catching problems early prevents long-term damage. If a protector shows any concerning signs, I remove it immediately and properly.
Proper Removal
When removing protectors, I follow manufacturer instructions carefully, work slowly, use appropriate tools (usually just my fingernail), and clean any residue immediately with camera-safe solutions. Patience during removal has saved me from damage multiple times.
Conclusion
Camera protectors do not damage cameras when you choose quality products and use them correctly. However, cheap or poorly-designed protectors can absolutely cause damage through aggressive adhesives, material incompatibility, or trapped moisture and debris.
After six years of professional photography work and extensive testing, my advice is clear: invest in quality protectors from reputable brands, apply them carefully in clean conditions, inspect them regularly, and remove them properly when needed. The difference between budget and premium protectors is significant and worth the investment.
By following these best practices and prioritizing quality over price, you can effectively protect your camera equipment without risking the secondary damage that cheap protectors can cause.